Without mapping, Roomba is just a random wanderer that bumps into obstacles and changes direction until its battery runs out or it gets stuck.
In fact, mapping is the main feature that separates Roomba from other robotic vacuums available in the market right now!
But using this feature, especially for the first time is somewhat complicated!
However, In this article, I will break down Roomba’s mapping run and how to get it to remap a Room.
What is Mapping Run on a Roomba?
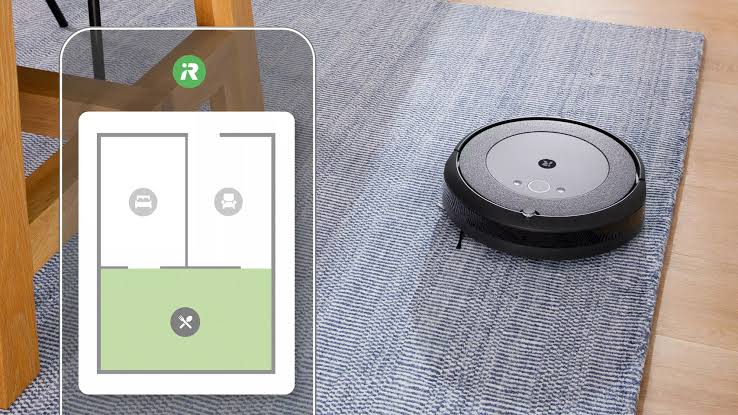
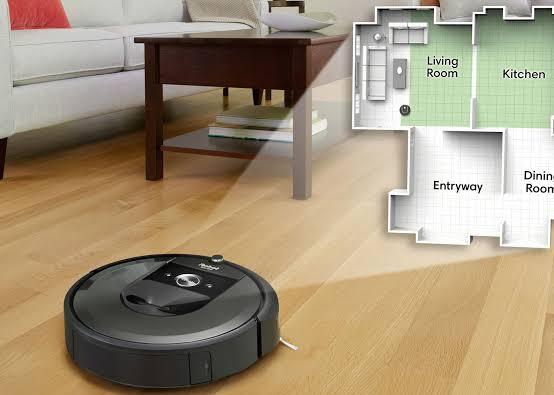
Basically, Roomba uses its sensors and cameras to scan the room and create a digital map of the space it’s cleaning.
It’s kind of like a robot taking a selfie of your house, but instead of a photo, it’s a digital layout of your space.
How To Get Roomba To Remap a Room?

Remapping a room using Roomba is pretty simple and in most cases, takes only 20-30 minutes to complete.
Here’s how:
- First, navigate to the i-Robot Home App.
- Click on the map icon,
- Then click on the training/mapping run, and start.
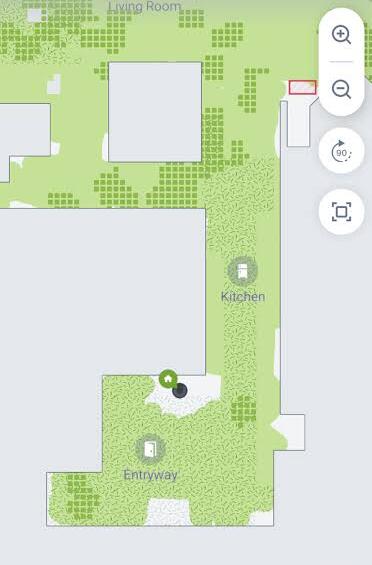
Roomba will automatically come out of the station and start the process. It will go everywhere in your home and gradually map the house.
A single mapping run can take up to 75 minutes of runtime and two to three cleaning missions to complete a full map.
Once the mapping is complete, Roomba will automatically return to its docking station and save the maps to its cloud and device.
Now, let the Roomba charge for a few hours.
You’ll see a basic map in your Home app, but it won’t be 100% complete yet. You’ll need to do a minimum of 3-5 mapping runs to get a fully complete map.
Start the second mapping run now.
After completing 3-5 training runs, the Roomba will finish mapping and send you a notification that your map is complete.
How to Customize Roomba Map

Once you’ve completed a Roomba mapping run, you’ll need to customize the map so that the Roomba can clean up properly.
We will do this in two steps.
1st Step
- Name your Roomba
- Set up your Roomba map by clicking on “add divider.“
- Drag to move the map and twist to rotate the divider.
- Hold on to the divider to edit or delete them.
- After dividing your room, save it.
2nd Step
The second step is labeling your house like rooms, halls, kitchens, etc.
- Name your Roomba.
- Tap on a room to label.
- Save your customization.
Based on your preferences, you can start by choosing instant cleaning, scheduling, or adding it to your favorites.
Once you’ve done that, you’re ready to explore all the mapping features and enjoy spotless cleaning.
If you’re having trouble finding the mapping icon in the app, try scrolling down. You’ll find it eventually.
If you’re still having trouble understanding the guide, watch the video below. I’ve explained everything in a simple and easy-to-understand manner.
F.A.Q.s
Q: How many mapping runs does a Roomba need?
According to iRobot, it usually takes around 3-5 mapping runs for the robot to understand your home’s layout.
Of course, this can vary depending on the size and complexity of your home.
If you have a substantial home or one with many obstacles, it may take a bit longer for Roomba to create a complete map.
Q: Why is my Roomba not saving the map?
If your Roomba isn’t saving maps, it could be because you moved the vacuum during the mapping and cleaning process.
As a result, the robot vacuum could not finish the initial clean on its first battery charge, which may have caused problems during the subsequent session.
To fix this issue, reset the map and begin a “Clean” by starting the vacuum at the charging station and returning to it without interruptions.
Q: How do I get my Roomba to remap a room again?
Just a few days ago, you created a complete map of your home, but today, when you ordered Roomba to clean the room, you saw that it cleaned all the rooms except one specific room.
When you opened the iRobot Home App to check the issue, you saw that the map of that room was deleted or crashed for some reason.
Right?
Well, here’s how to remap that particular room:
- Open the iRobot Home App.
- Then go to Settings and then tap on Cleaning Preferences.
- After that, tap on the Reset Map present right under Advanced Settings.
From there, the process is similar to how you first set your robot’s map for cleaning.
On the App’s home screen, click on Setup, and then you will be asked to select a room. Now click on Start Mapping, and your Roomba will start to map again.
Q: How does robot vacuum mapping work?
There are sensors installed on or near the vacuum’s shock-absorbing bumpers that allow it to navigate around these obstacles without slowing down.
When the bumper clashes with an object, the sensor is triggered, and the robot vacuum knows to turn and move away until it finds a clear path.
But why does Roomba need to map your home at all?
Well, it uses this map to know where it has already been and where it needs to go. This helps clean your home more efficiently and avoid any missed spots.
Q: How to troubleshoot when the Roomba map is not available?
If you’re getting the “map not available” error on your Roomba, there are a few things you can try to fix the issue.
- Turn on the mapping features from Settings > Map privacy > Mapping features
- Try connecting your Roomba to WiFi again.
- Update your Roomba’s software.
- Try resetting your Roomba.
Special thanks to Merv for spotting an error in the original article, leading to a necessary correction. Your vigilance and dedication to accuracy are greatly appreciated.

Vacuum master from Gazipur, Bangladesh! He knows vacuums inside and out and has been fixing them for ages. When he’s not busy repairing vacuums, Mizanur writes these super helpful guides for Homespoiler.com. His guides are packed with all sorts of tips and tricks to help people fix their vacuums and keep them running smoothly. More about him.

