
“Charging Error 5” is nothing to be scared of, it’s just an issue with the charging equipment of the vacuum!
Basically, I have received a significant number of complaints from many owners over the past two years, and error-related issues have been common among them.
In this guide, I will break down what you need to do to troubleshoot this pesky error and get your Roomba working again.
Let’s dive in…
What Causes Roomba Charging Error 5
Roomba is designed to charge automatically, but when it fails to do so, it stops working and displays an error code.
Charging error 5 on a Roomba indicates that there is an issue with the robot’s ability to charge properly. Whether it’s due to a malfunctioning charging cable, dusty charging contacts, or Battery issues.
If the issue is with the cable or the charging points, it’s pretty simple to troubleshoot.
But if the battery is the culprit, you need to replace it.
How To Fix Roomba Charging Error 5
- Reboot the Roomba.
- Clean the Charging Connectors.
- Reset the Battery.
- Factory Reset the Roomba.
Here are the detailed instructions:
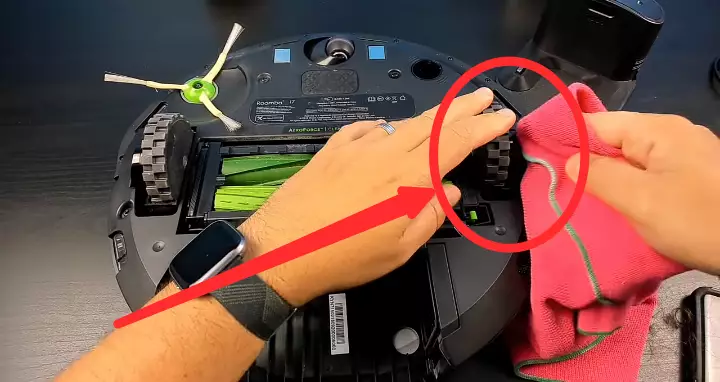
Step 1: Charging ports
No need to mention it again.
You already know how crucial it is to keep the charging ports free from dirt and dust.
If they get clogged with debris, your Roomba might have trouble connecting to its home base and recharging.
These buildups naturally accumulate on the charging ports, so it’s important to clean them regularly.
Ensure that all the connectors related to charging are clean and free from dust. Just wipe them down using a pink or magic eraser dipped in rubbing alcohol. (Refer to the picture above for guidance)
After completing this step, check to see if the error persists.
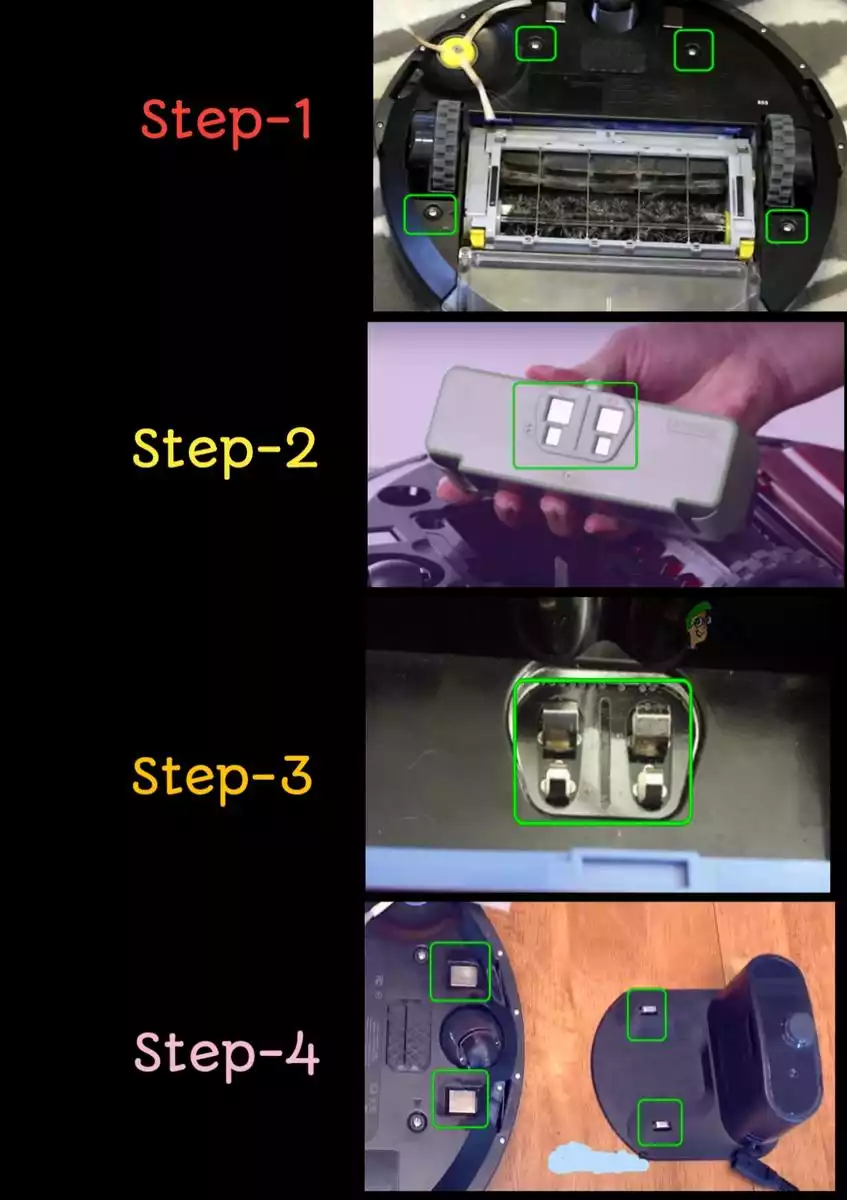
Step 2: Entire body
Once you’ve cleared the dust and carbon buildup from the charging ports, it’s time to give the entire Roomba a thorough cleaning.
This includes the roller brush, side brush, and the battery compartment.
This ensures that no dust or dirt gets into the spaces surrounding the battery and docking plates, which can cause problems.
To do this, start by removing the battery cover and then clean both the interior and exterior of the robot using a dry cloth.
Step 3: Power reboot
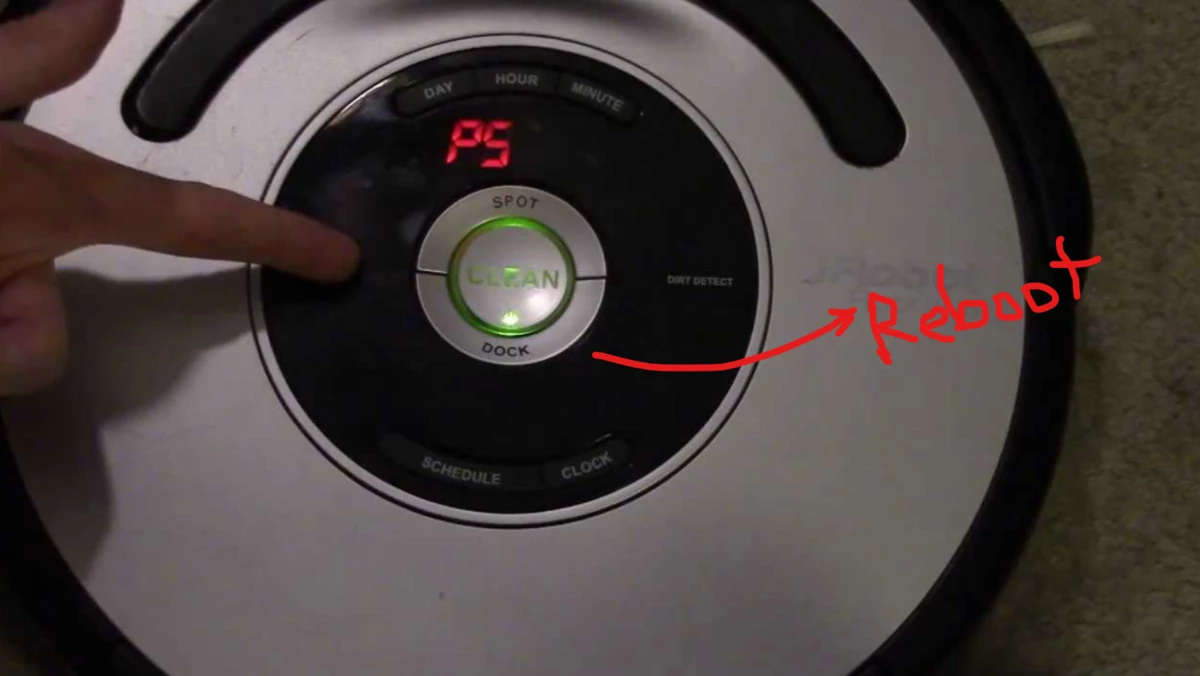
Fear not, it’s just a simple thing like unplugging and re-plugging a device. This will not delete any of your saved customization or mapping.
Hopefully, this may fix the “error 5” issue if your vacuum is just experiencing a software glitch.
Continuously press the “Dock” and “Spot” buttons for about 15 seconds.
Once the vacuum is rebooted, charge it for at least 3 hours with the charging cord plugged directly into the vacuum (try not to use the docking station).
Step 4: Malfunctioning battery
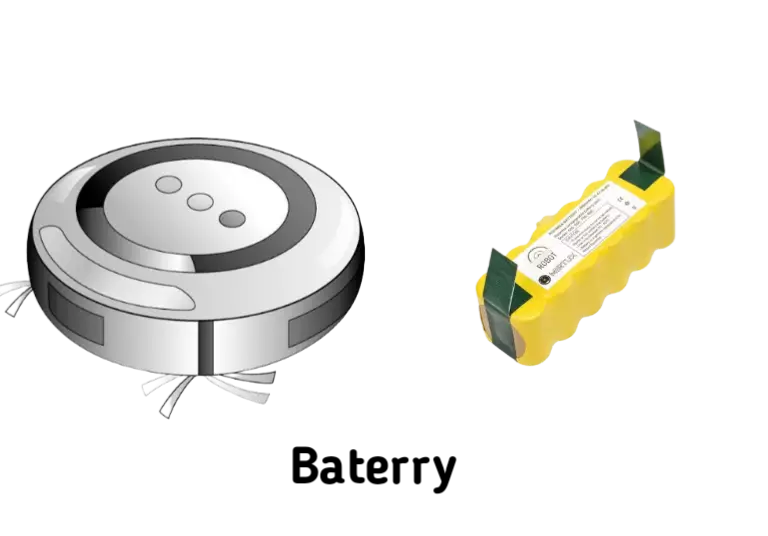
There’s a chance that the battery of your Roomba is faulty, causing it to not hold a charge, which triggers the “charging error 5” message.
If this is the case, replacing the battery is the only solution to get the vacuum cleaner working again.
Just buy a new one and then replace it with the old one.
That’s all.
With a new battery, your Roomba should start working again.
Step 5: Default reset
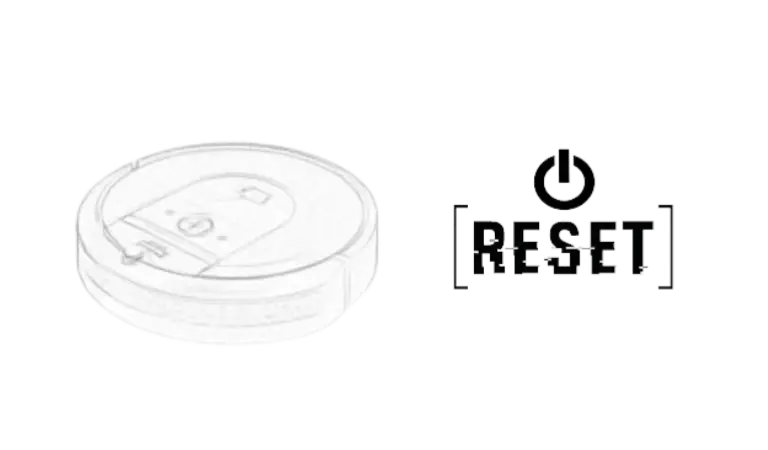
If you believe that the battery is not the issue, the only remaining option is to restore your Roomba to its factory settings.
Note: performing a factory reset will permanently erase all of your saved settings, including any customizations or maps you may have created. You’ll need to reconfigure your Roomba and create a new map of your home.
However, two methods exist for this; manually and via iRobot Home App. Thankfully, I have already covered this topic in a previous article, which you can access through this link.
Here is how you can do it via Irobot Home App:
- Open i-Robot ‘Home App’
- Go to ‘settings’.
- Then tap on “Remove/Factory Reset.“
Roomba will now take a reset and will return to its factory settings. After a hard reset, your problem should be solved.
Preventing Roomba Charging Error 5

Nobody wants to deal with Roomba Charging Error 5 repeatedly, and the good news is that you can take proactive steps to minimize its occurrence.
Here are comprehensive guidelines to help you prevent this issue effectively:
- Regularly clean the charging contacts.
- Keep the charging dock and Roomba in a clean, dry area.
- Check for software updates and install them promptly.
- Replace the battery if it no longer holds a charge.
F.A.Q.s
Q. Nothing worked! What to do?
In this case, you have nothing else to do.
But yes, you can try buying a new home base.
It’s possible that the charging dock is malfunctioning, which is why your Roomba isn’t charging.
Q. Will a factory reset fix a charging error 5 on my Roomba?
A factory reset may help resolve a charging error 5, but it is not a guaranteed solution.
If the issue persists after a factory reset, it may be due to a hardware issue that requires professional repair.
Q. How often should I clean the charging contacts on my Roomba and Home Base?
It’s a good idea to clean the charging contacts on your Roomba and Home Base regularly, especially if you have pets or live in a dusty environment.
You can clean the contacts with a dry cloth or cotton swab, or use a small amount of rubbing alcohol to remove any buildup.
Q. Can a charging error 5 be caused by a faulty battery?
Yes, a faulty battery can cause a charging error 5 on a Roomba.
If the battery is damaged or worn out, it may not be able to hold a charge properly, resulting in an error message.

Vacuum master from Gazipur, Bangladesh! He knows vacuums inside and out and has been fixing them for ages. When he’s not busy repairing vacuums, Mizanur writes these super helpful guides for Homespoiler.com. His guides are packed with all sorts of tips and tricks to help people fix their vacuums and keep them running smoothly. More about him.