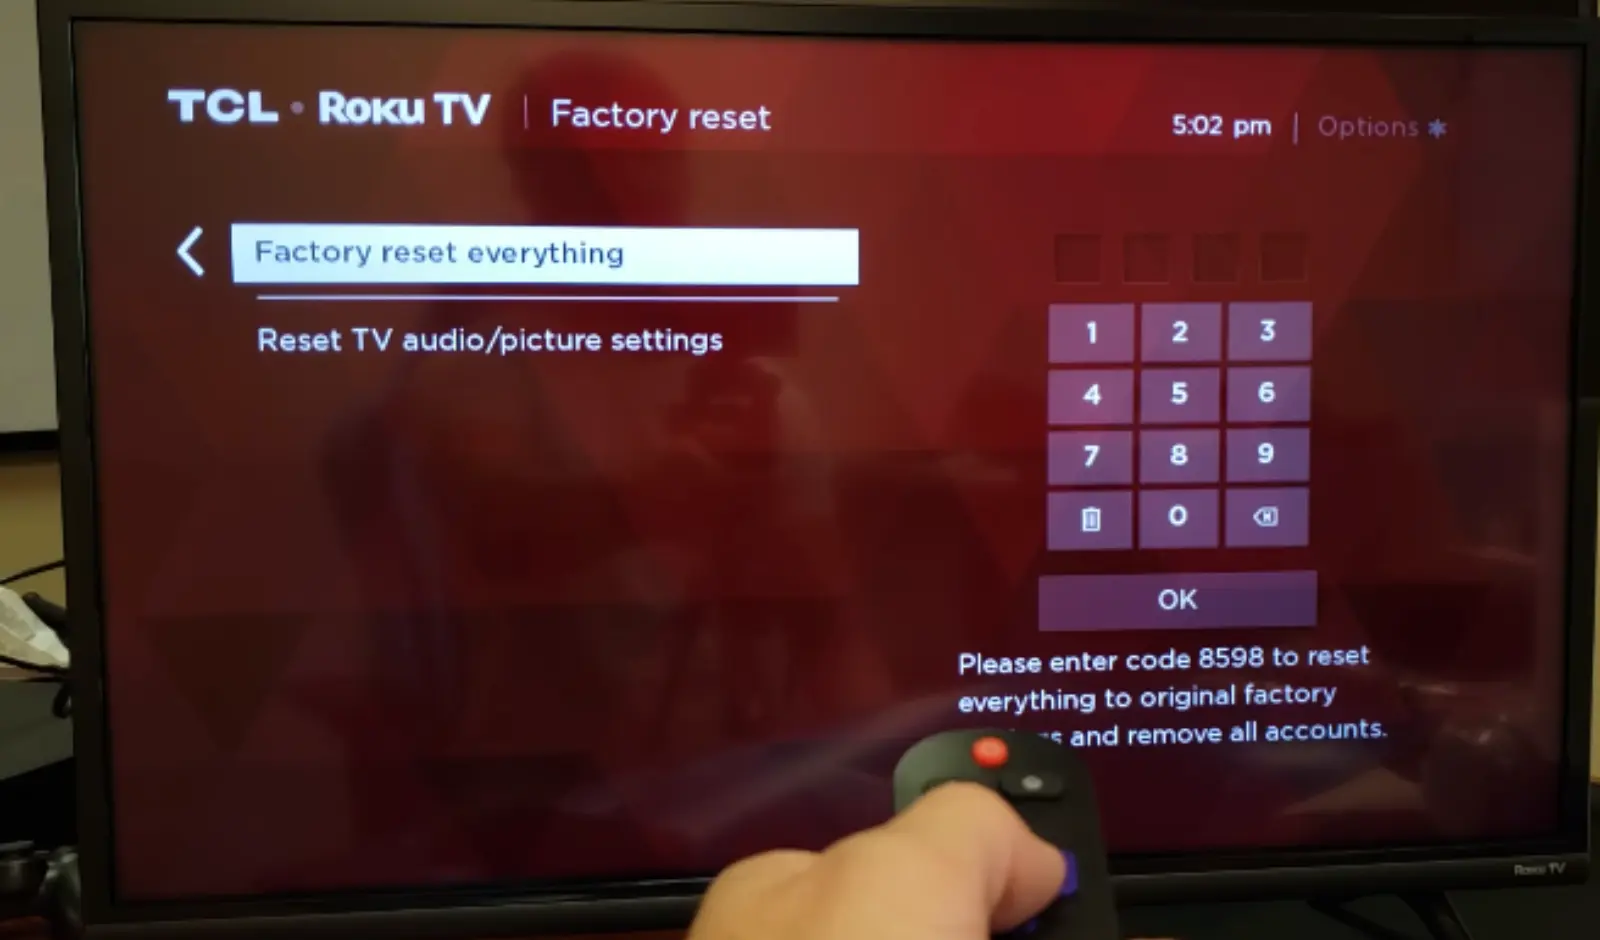
“Factory reset”— is one of the most common and powerful troubleshooting steps that every smart TV owner usually uses as the last step.
But what if it greyed out and you can’t factory reset your TV?
Real pain, right?
Well, In this guide, I will walk you through the steps you have to take if the factory reset option isn’t working on your TV.
Let’s move on…
How to troubleshoot this issue?
- Power cycle the TV.
- Clear cached data and temporary files.
- Use the TV’s physical reset button.
- Flash the firmware using a USB Drive.
Here are the detailed guidelines:
Step 1: Power cycle the TV (Don’t Skip)

No, it’s not your typical power cycling.
When you power cycle the TV, what do you do? You just unplug it from the power source, wait a bit like 60 seconds, and then plug it back in.
Right?
Well, HDMI resetting is more than that!
Here’s what you need to do:
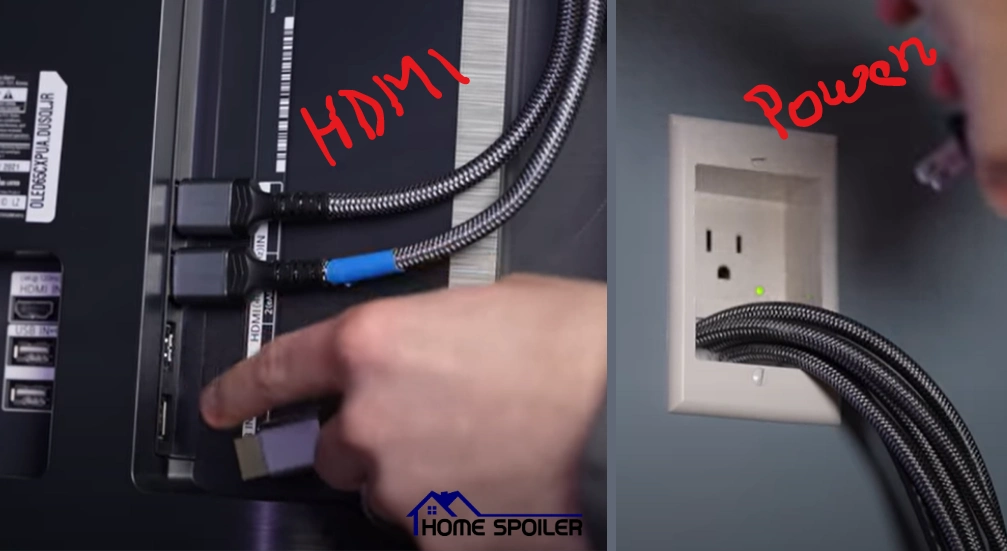
- First, unplug your TV from the power.
- Also, unplug all those HDMI cables from the TV.
- Now, wait for about 5 minutes.
- While waiting, press and hold the TV’s power button for roughly 15 seconds.
- After that, power up the TV again.
Now again go back back to the settings and check if the reset option is working now.
If not, proceed to the next step.
Pro Tip: Sometimes system updates can get in the way of resets. To tackle this, disconnect your TV from the Wi-Fi, turn off the Wi-Fi router, reboot the TV, and then again go to the reset option to check if it’s accessible now.
Step 2: Clear cached data and temporary files

Cached data and temporary files are automatically stored by your TV’s apps and browsers to improve their performance and functionality.
Over time, they can accumulate and take up valuable storage space, causing your TV to slow down or malfunction.
So cleaning the cache file is worth of try!
However, the process of clearing cached data and temporary files may vary depending on the model and brand of your smart TV.
Here are some general steps:
- Navigate to the Settings menu of your TV using the remote control.
- Select the Apps or Application Manager option from the list.
- Choose the app or browser that you want to clear the cache or data for. You may have to do this for each app or browser individually.
- Select the Clear Cache or Clear Data option. This will delete the cached data and temporary files for that app or browser.
- Repeat the process for any other app or browser that you want to clear the cache or data for.
One crucial thing I want to mention is that clearing the cache or data may erase some of your preferences, settings, or login information for the app or browser.
You may have to re-enter them the next time you use the app or browser.
Extra tips: Sometimes the external devices connected to the TV can also cause this issue. So disconnect all of them and try again.
Step 3: Why not simply use the Physical reset button?

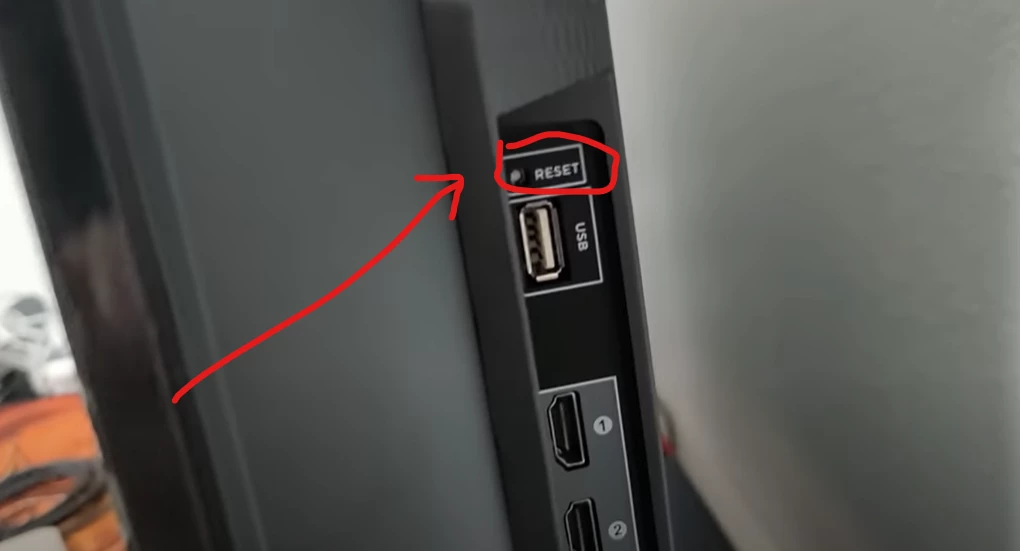
Every TV model comes with a physical reset button, either on the backside or on the control panel located on the right or left side of the TV.
However, Android TV lacks this feature!
So if you are using any TV models operated via Roku or Fire TV OS (not Android), use this physical button and check if it works.
If not, flash the firmware using a USB drive.
One more thing: In some TVs, there is a feature called “Parental controls.” When this mode is enabled, it can prevent you from resetting the TV. So check it, and if it’s enabled, simply disable it.
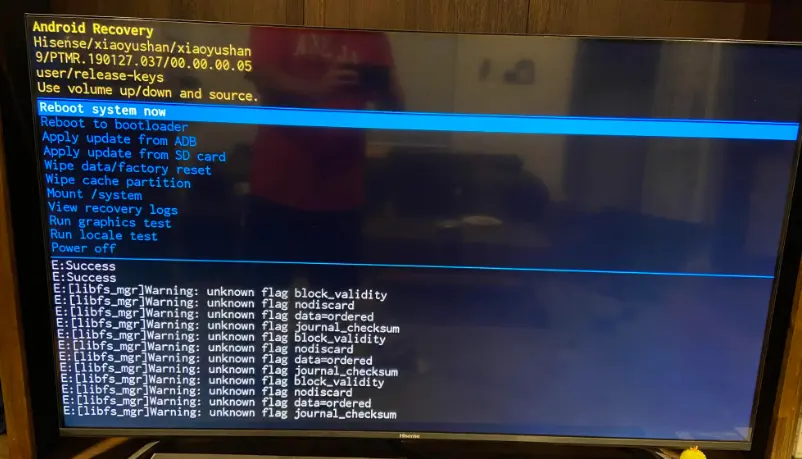
Step 4: Flash the firmware using a USB Drive

Flashing is a process of updating or reinstalling the software that runs the TV.
This can help resolve any issues that may be causing the factory reset option to be greyed out. But, this method is very risky and complex, cause it may damage the TV or void the warranty.
So only try as a last resort.
Here’s how:
- Go to the TV manufacturer’s website and download the latest firmware file for your TV model. Make sure the file is compatible with your TV and has a .pkg extension.
- Insert a USB drive into your computer and format it to FAT32.
- Copy the firmware file to the root directory of the USB drive. Do not rename or unzip the file.
Now safely eject the USB drive from your computer and insert it into the USB port of your TV.
That’s it…
Now power the TV on and follow the on-screen guidelines.

Abdul Kader, a handy guy and experienced founder of a TV repair shop in Gulshan, Dhaka, Bangladesh. He is mainly an expert in understanding and repairing different types of issues with Smart TVs and providing helpful insights on how to keep them in good working order. Read his Full Story.

